08-06-03
Range Rover 200 tdi Diesel Conversion
-

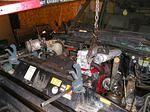
Room in the shop for several vehicles now. Too bad it's not organized!
-
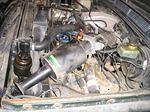
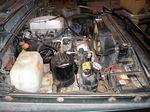
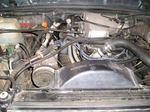
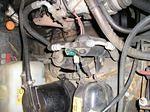
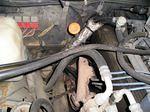
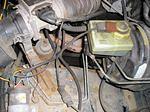
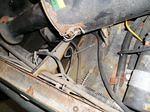
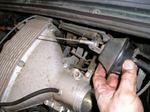
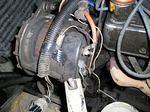
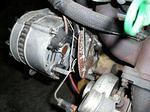
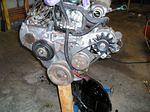
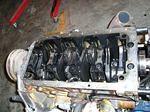
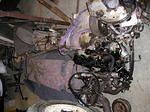
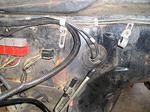
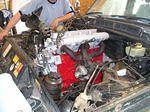
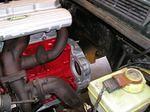
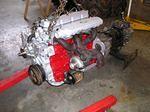
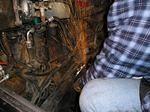
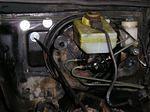
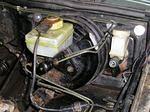
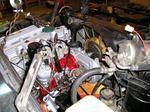
Various views of the old V8 and the wiring around the engine compartment.
-
-
-
-
-
-

-
-
-
-
-
-
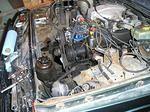
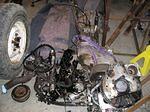
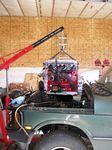
Starting the dismantle. In my experience the more pictures you have up front, the easier it is to remember where things go later.
-
-
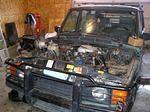
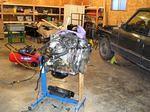
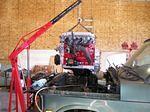
The donor 200 tdi sitting on the lift in the background
-
That's about the end of round 1 of engine removal. I decided to tidy up the diesel before proceeding on the truck itself
-
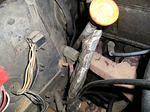
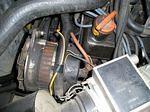
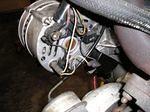
Alternator wiring
-
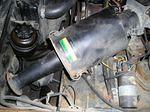
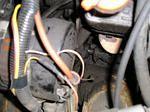
Just so I'll know where all the hoses go...
-
-
-
-
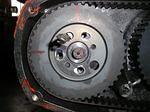
First main journal cap I removed revealed this nick.
-
Time to tear it down and freshen it up.
-
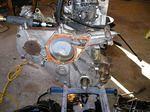
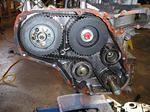
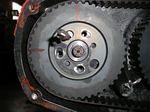
Finding something to lock the fuel pump. an 11/32 drill bit fit in quite tightly and kept it in place once I had the engine at TDC.
-
-
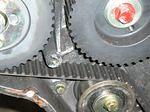
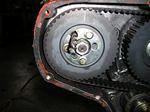
Cam timing mark
-
-
marking the pump gear
-
-
Mmmm, Grime!
-
-
-
The pile of bits building up.
-
-
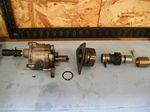
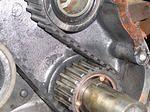
Teardown of the skew gear.
-
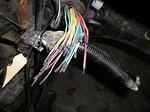
Fuel injection harness amputees.
-
And the tidy hole left behind once they were pushed back through the firewall.
-
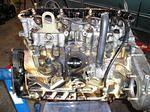
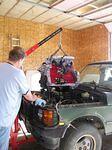
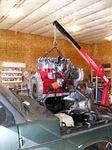
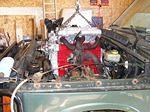
First test fit.
-
-
-
-
-
-
-
-
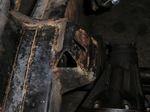
Yep, the motor mounts do conflict with each other. The ones on the frame are 45° and the ones on the engine point straight down.
-
-
-
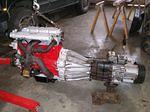
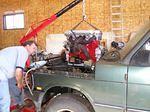
Engine and tranny mating test.
-
-
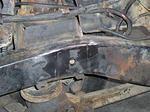
Old right side frame mount
-
Old left side frame mount.
-
Rough cut right
-
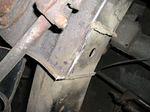
Rough cut left
-
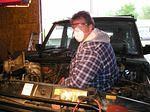
Safety equipment.
-
Sparks
-
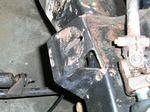
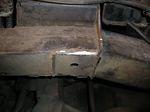
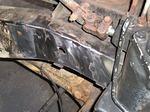
Right mount removed and cleaned up.
-
Left side removed and cleaned up.
-
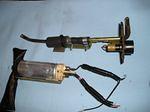
Fuel pump repurposed for fuel pickup.
-
Rear motor lift point
-
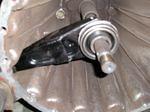
New Britpart HD clutch fork
-
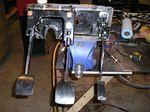
The RHD pedal assembly being prepared for install
-
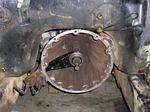
Look the transmission is in!
-
The pedal assembly back in place with shiney washers.
-
Gotta remember to bleed the brakes...
-
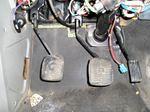
Pedals heated and moved to the right. they fit pretty good after all the jiggling around.
-
-
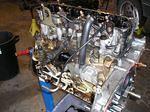
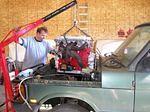
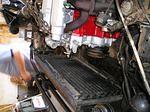
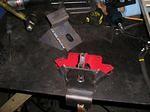
Test fit number 2. this time with Radiator, fan and shroud in place. Once all was fitting well, measurements for the motor mounts was taken.
-
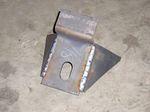
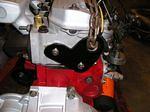
One of th enew motor mounts cooling off after welding
-
One motor mount jigged and tacked in preparation for welding and the other completed in the background. The "perfect" test measurement was 1 3/8" from the top of the frame, then to compensate for settling of the full floating rubber mounts, I subracted...
-
-
-
-
Album info
Random image